Table of Contents
Start a project on adhocracy+
Step 1: Call Dashboard
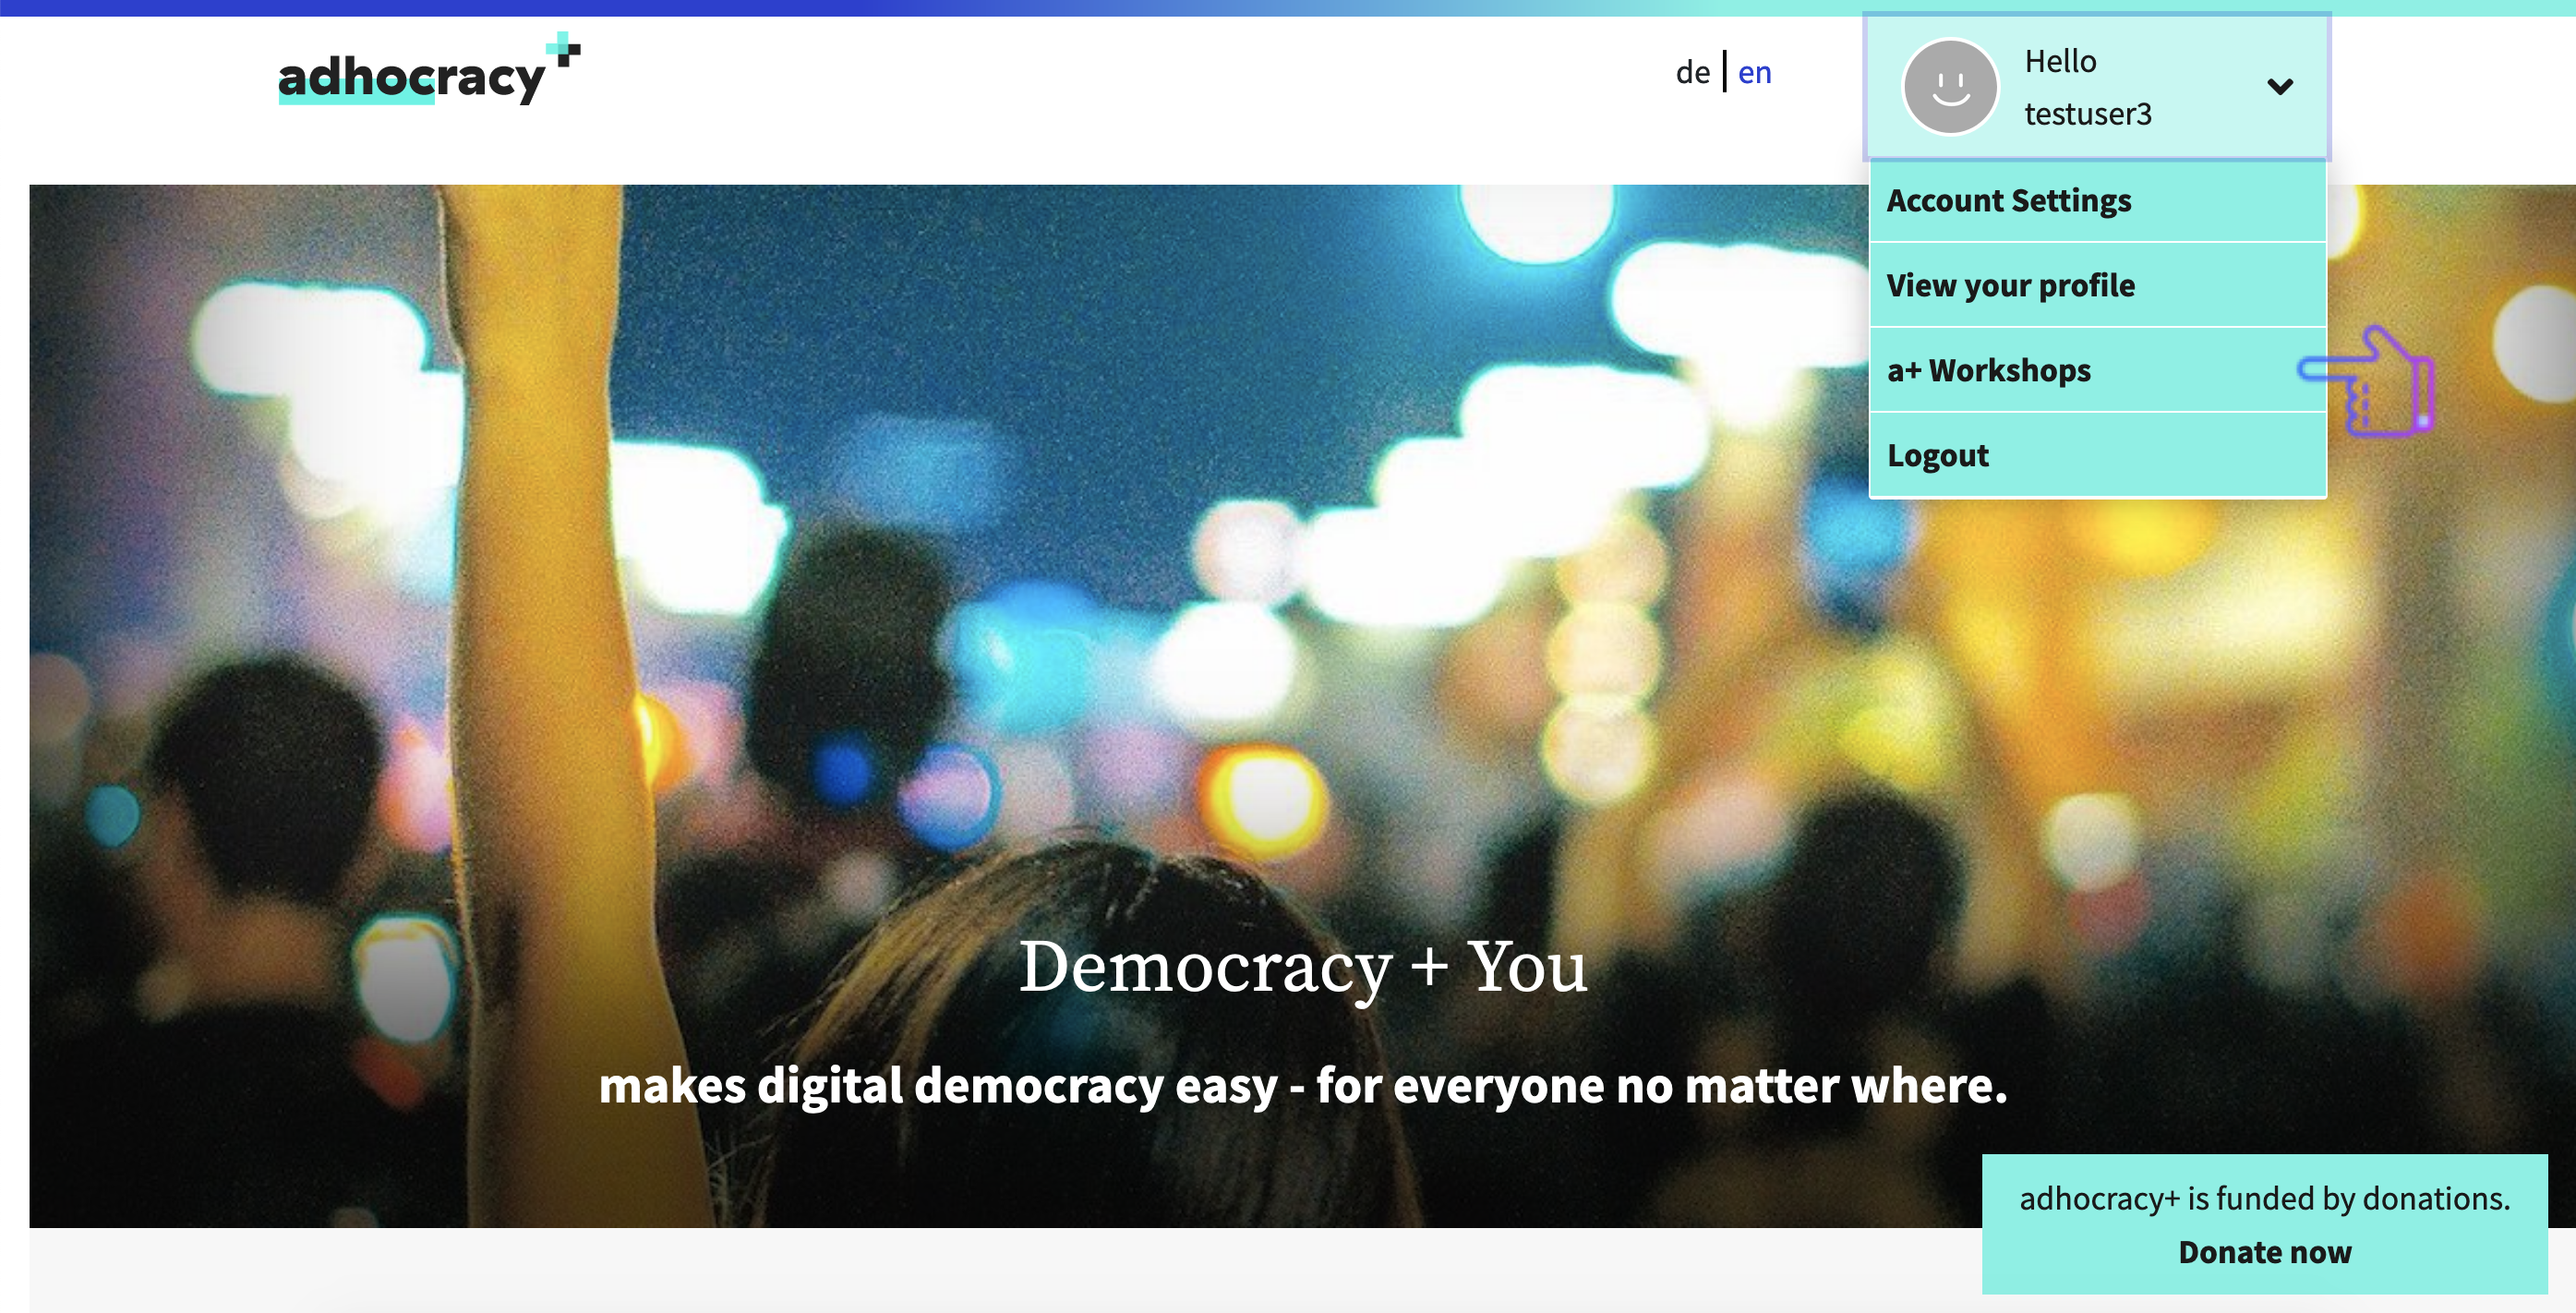
Click on your username in the top right corner and select the organization. This corresponds to the organization you are assigned to.
Figure 1: Homepage adhocracy.plus
#goodtoknow: Only the project initiators have access to the dashboard. Here they can change the settings of their organisation, get an overview of their projects and can set up new projects.
Step 2: Create new project
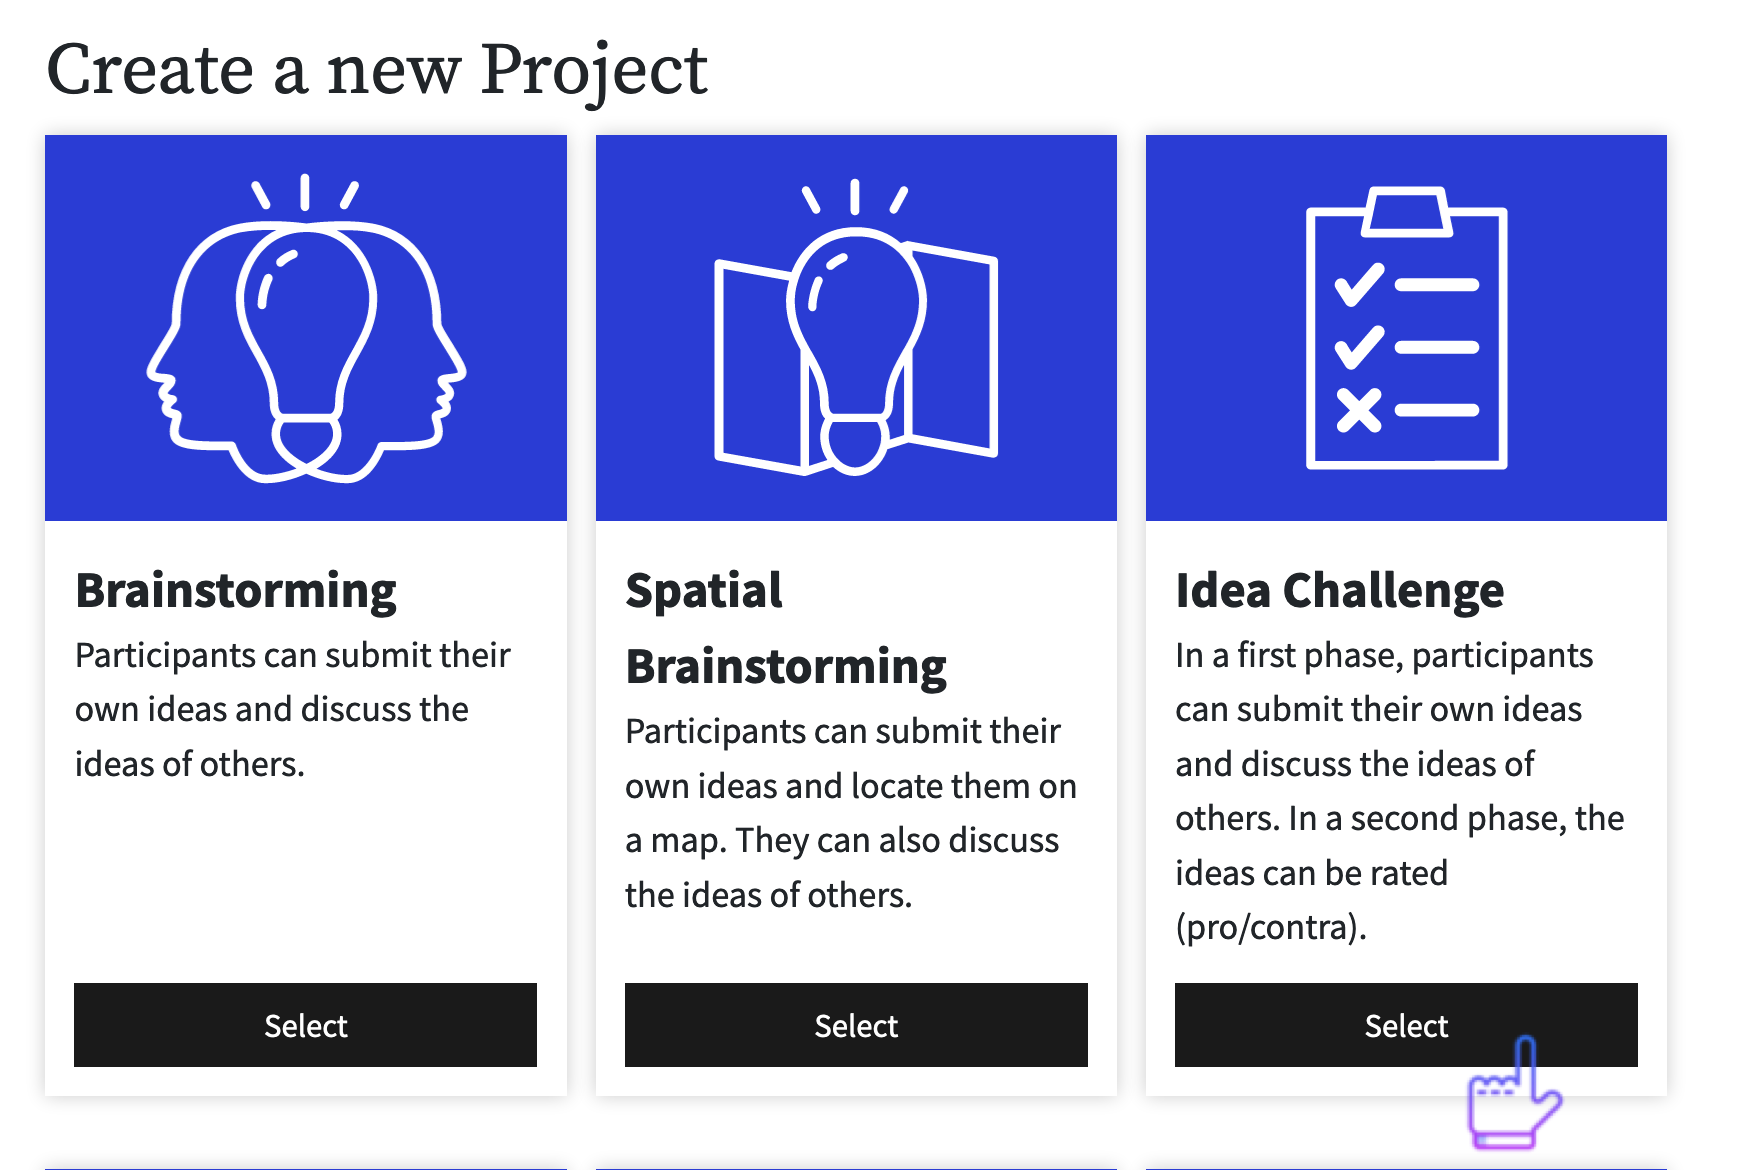
Click on “new project” and select one of nine module templates.
#goodtoknow: You can add more modules to the project later. These can be active one after the other or in parallel.
Figure 2: Module description adhocracy.plus
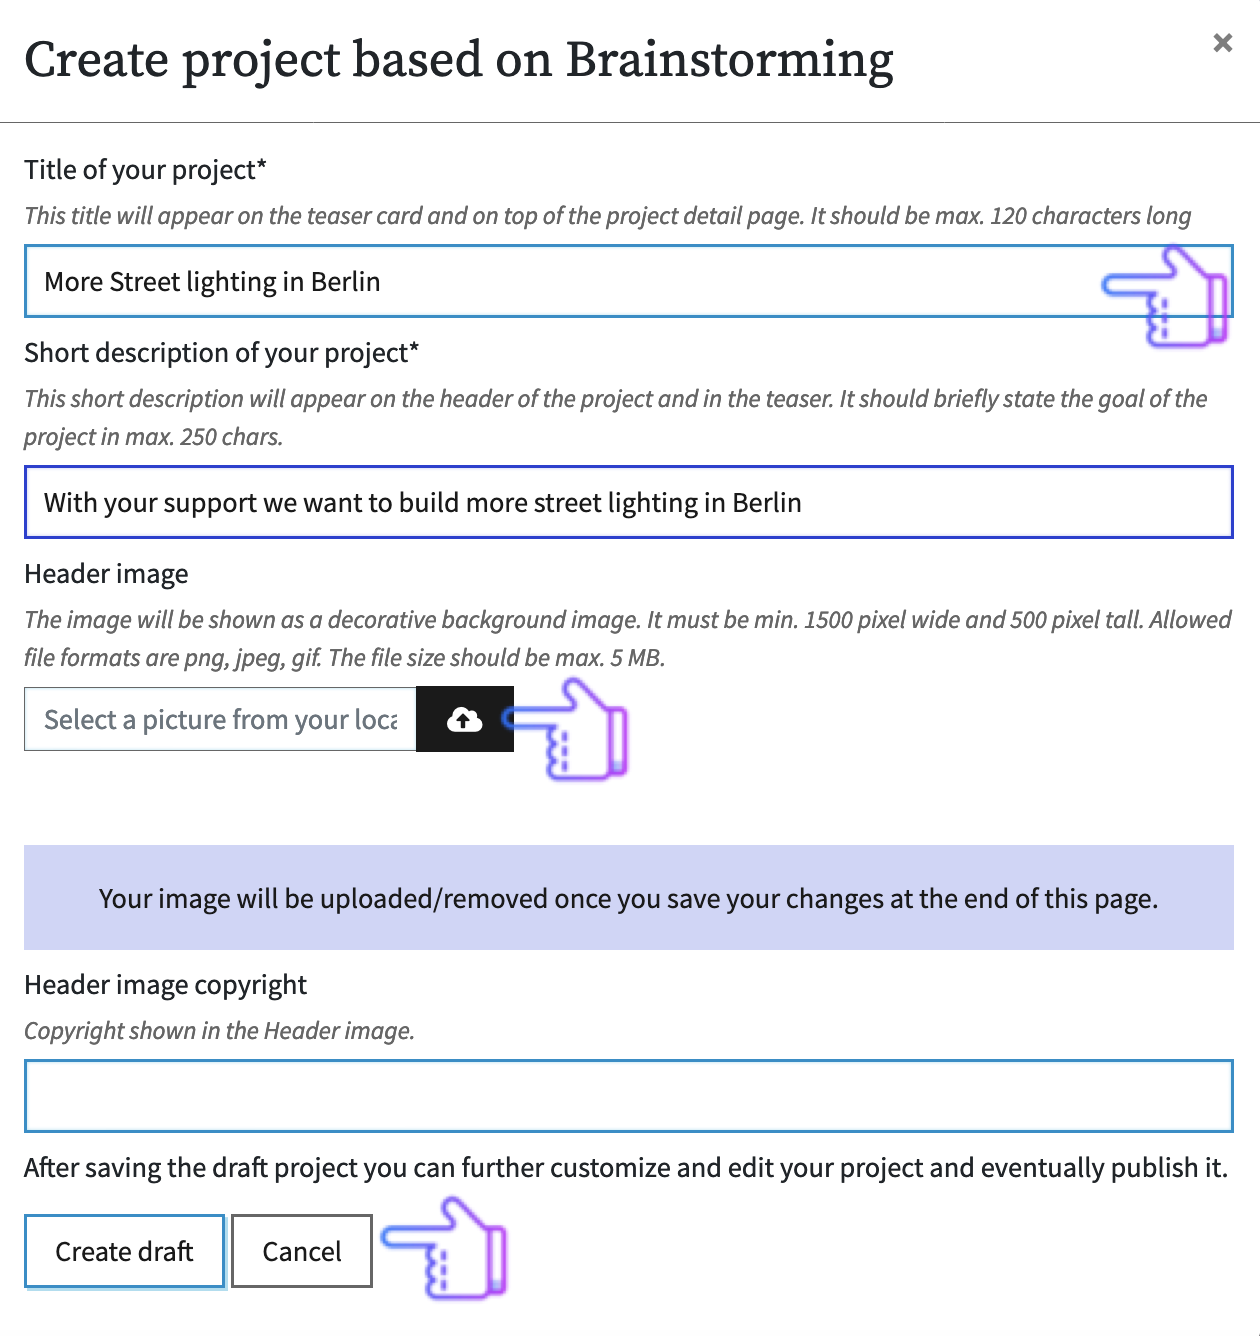
Now enter the title of your project and a short description. Both will be displayed on the project tile and in the header of the project page and should be as short and inviting as possible. You can also upload an image for the header and the project tile. Don't forget the copyright information!
Click on “Create project design” at the very bottom.
#goodtoknow: The URL of the project is generated from the title. You can change the title later, but not the URL.
Figure 3: Creating a project adhocracy.plus
Step 3: Edit basic settings and fill in mandatory fields
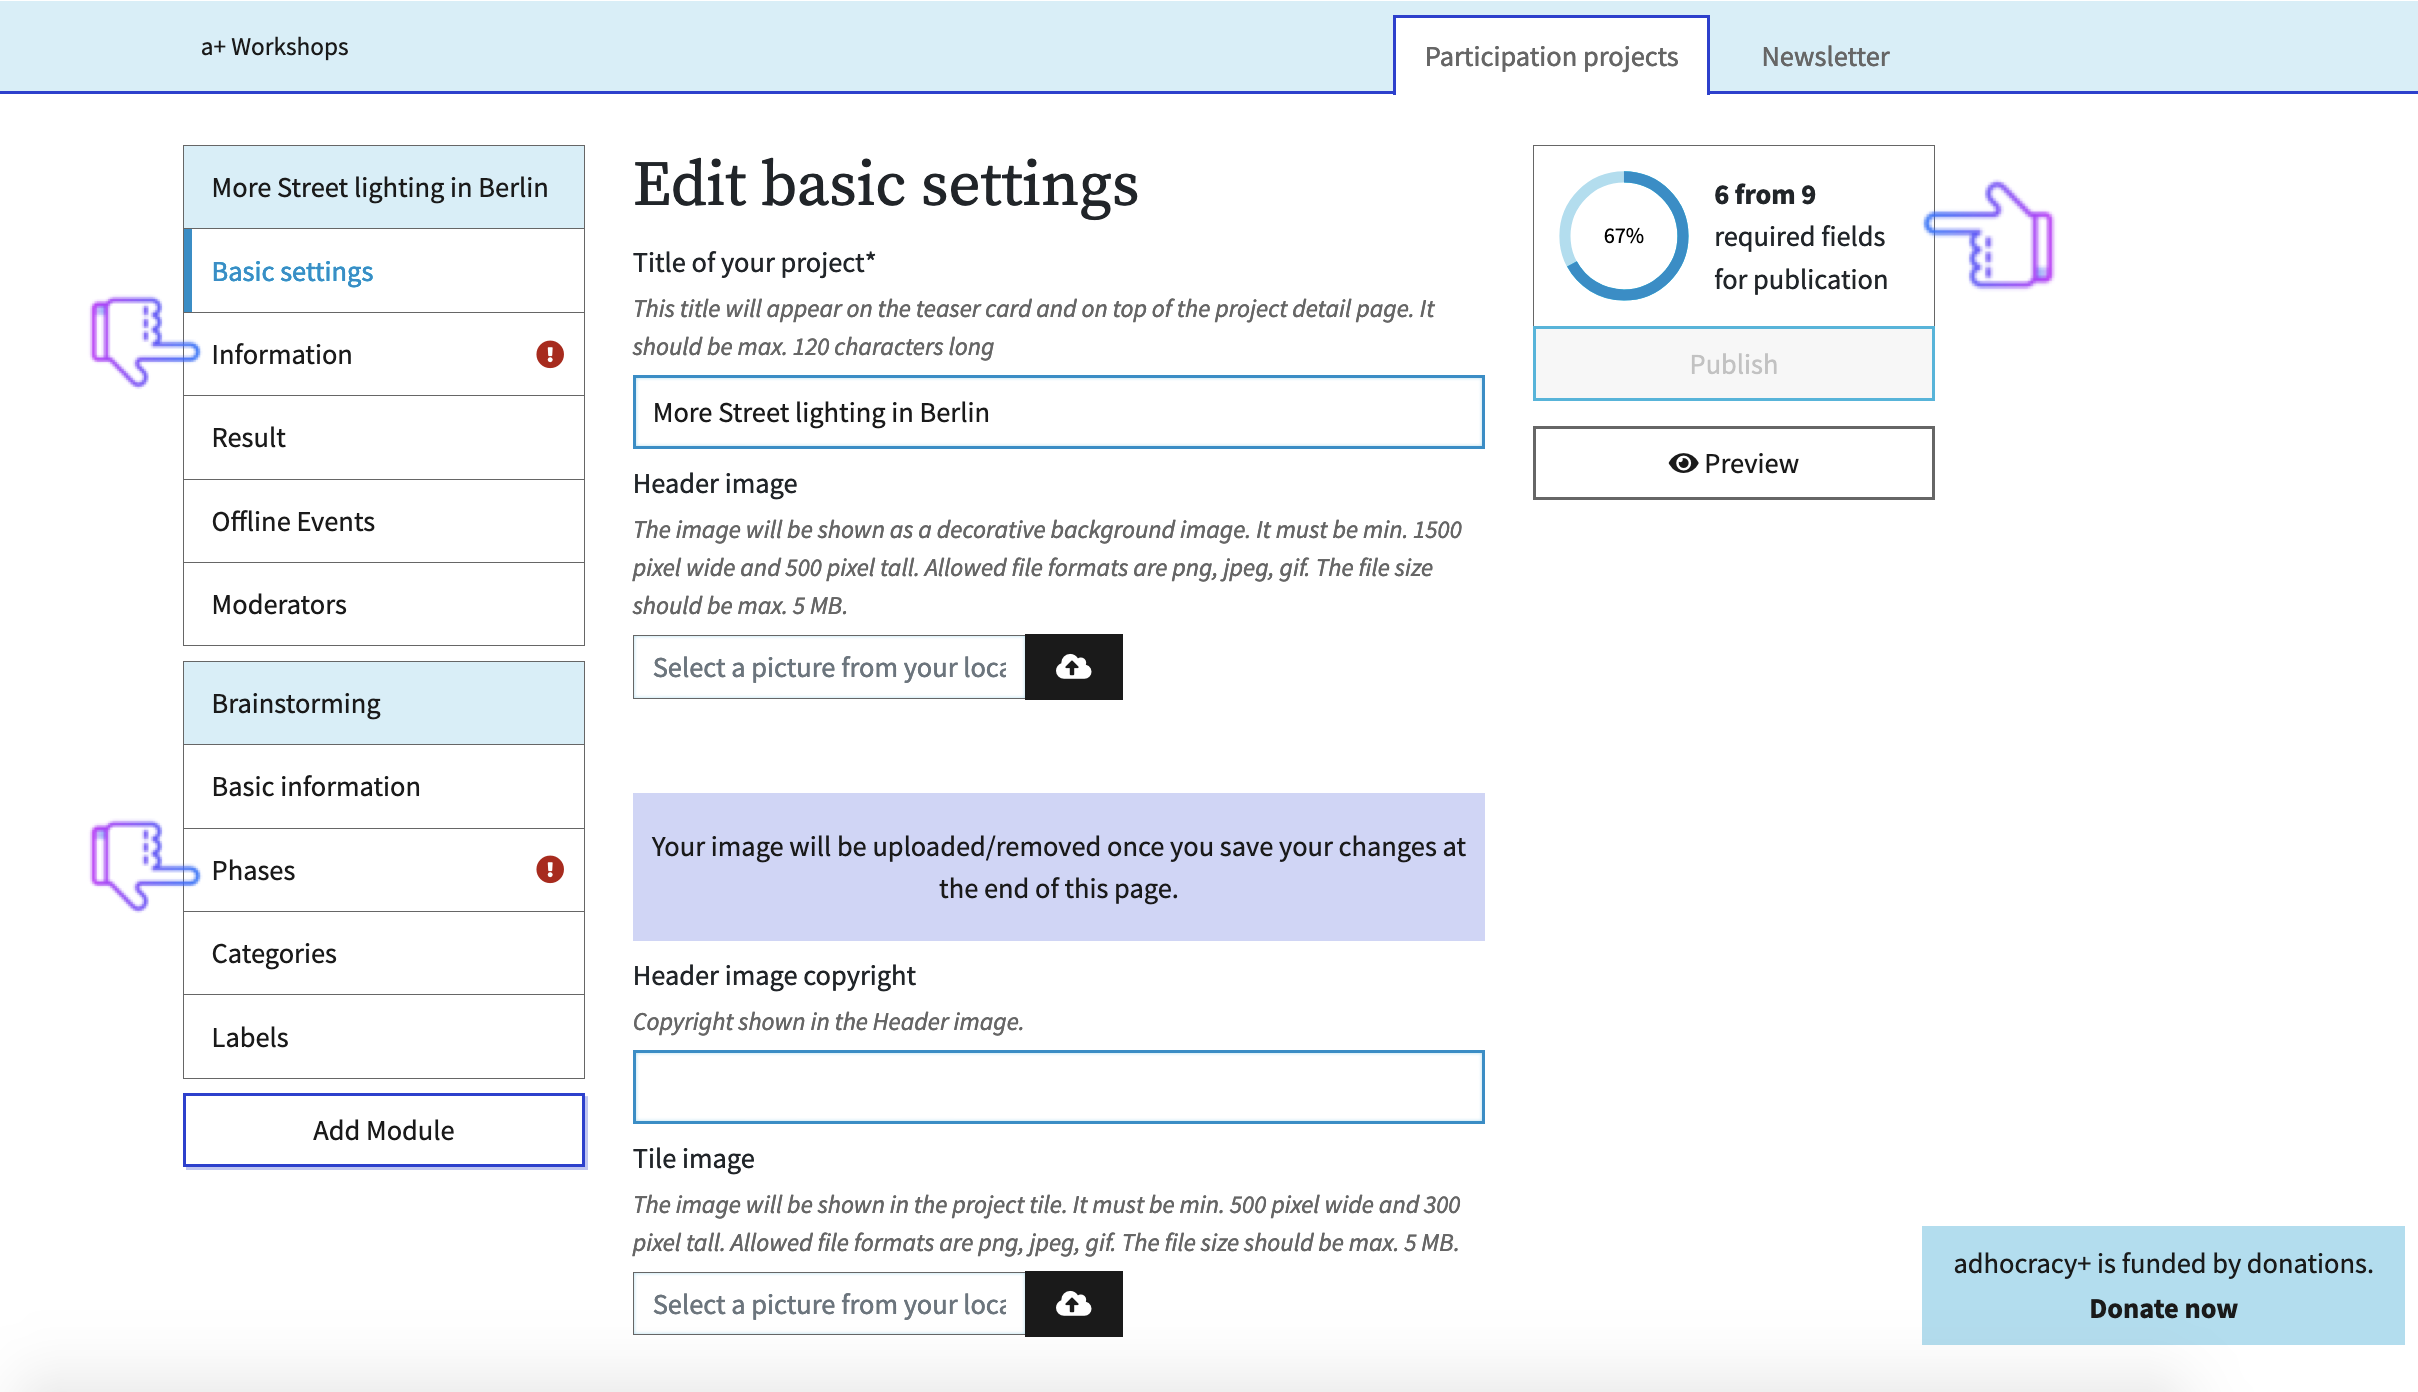
You can edit all project-relevant information in the basic settings. Now fill in all fields that are marked with a small exclamation mark. Only after you have done this, you can publish the project. On the right side the progress is shown in a circle graphic.
Figure 4: Project settings adhocracy.plus
- Information: Please provide background information on the project and a contact person. You can format the text and insert photos and links.
- Phases: In the phases you enter the participation period for your project and describe what the users can do in this phase. Some modules have two phases, e.g. the idea competition.
- Map: If you have selected a module with a map, mark the project area for which ideas can be submitted. Do not forget to save!
- Document: In the Discuss Text module, insert your document here. The participants can write a commentary on each paragraph and chapter.
- Survey: In the Survey module you enter your questions and answer options here. For each question you can determine whether several answers can be ticked off or not.
#goodtoknow: In the default settings you can restrict access to your project to only invited participants (private project). You will also find a code that allows you to embed the project on your own website (embed).
Step 4: Preview
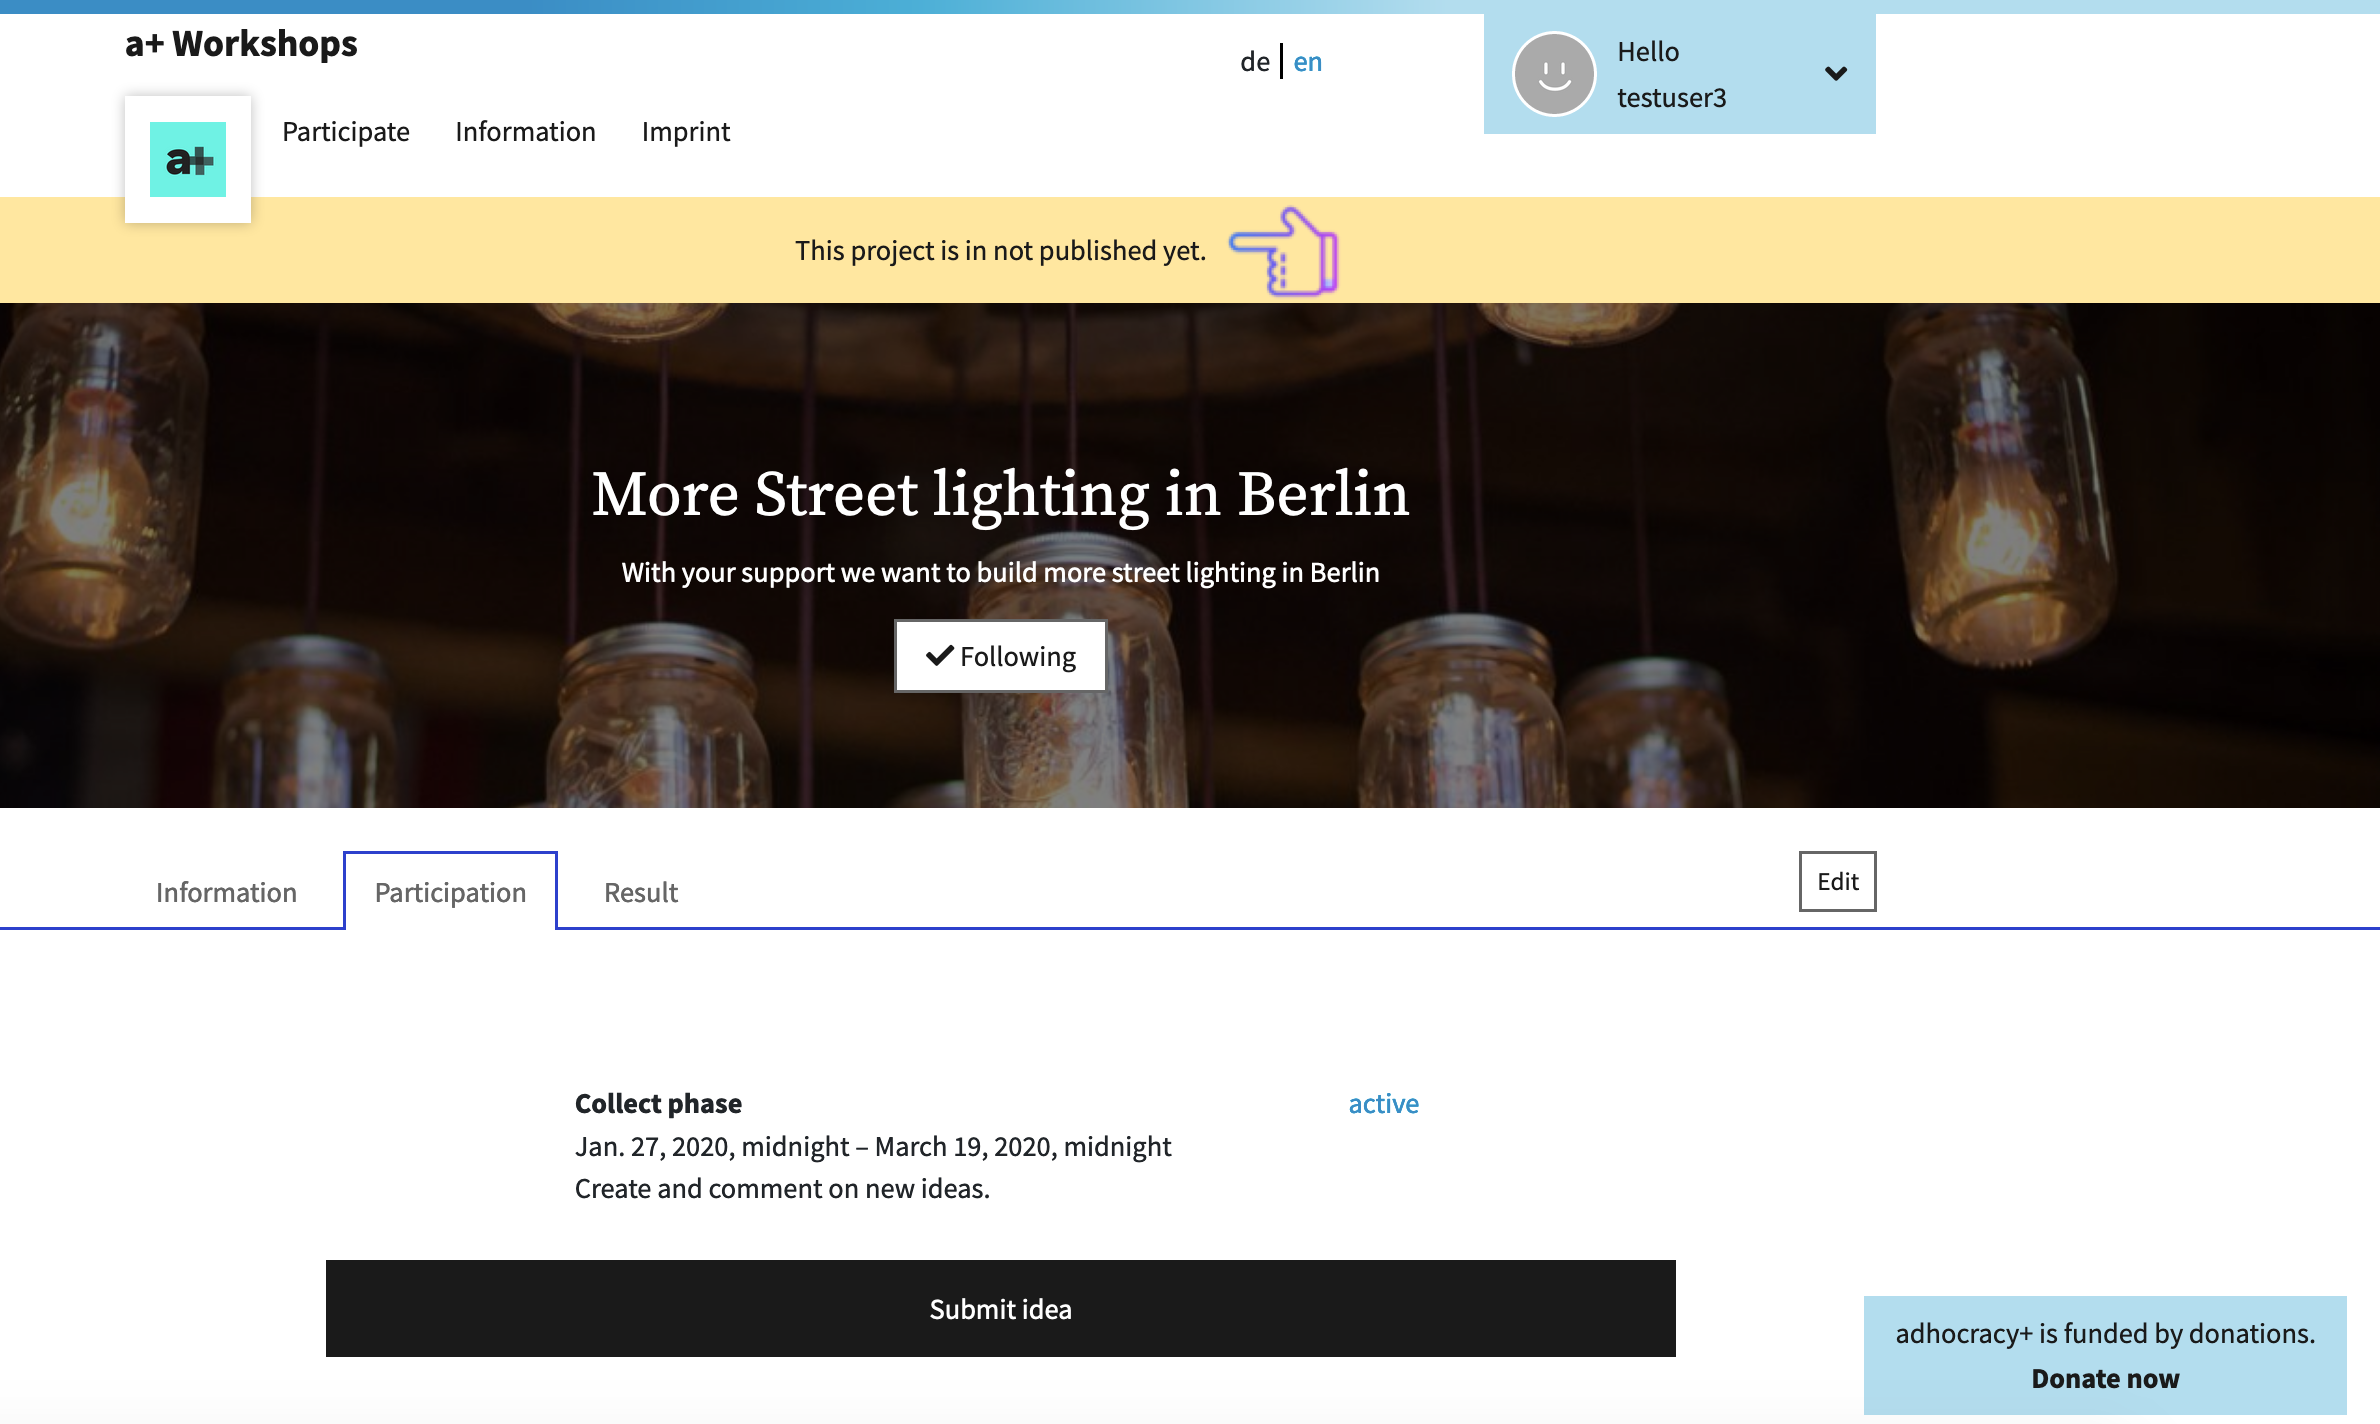
Take a look at the preview of your project. Do participants understand the topic? Does it look appealing?
Figure 5: Project preview adhocracy.plus
Step 5: Rounding off the project
You can now fill in more fields, which are not technically mandatory, but which improve the project and provide more background information to the participants:
- Results: Explain at the beginning of the project what you want to do with the results. At the end of the project you can inform about the results. Remember: people are more likely to participate if they know what is happening with their ideas!
- Events: Add one or more (offline) events. A timeline now appears in the project.
- Moderators: They are entered as moderation by default. Here you can transfer the moderation to one or more persons.
- Categories: Categories help you and the participants to sort and filter contributions. When you define categories, participants must assign their idea to a category. For the modules with card, you can assign different pins to each category. In the Interactive Event module, the categories help the moderator to make the discourse more inclusive.
- Features: Characteristics are supplementary details to an idea, which are determined by you in advance and selected by the participants as multiple choice, e.g. possible measures.
- Basic settings in the module/multimodule: These contents are only displayed if the project has several modules running in parallel. By default the short description of the module corresponds to the short description of the project.
Step 6: Publish Project
Take another look at the preview of your project. Are you satisfied? Then you can publish your project now.

